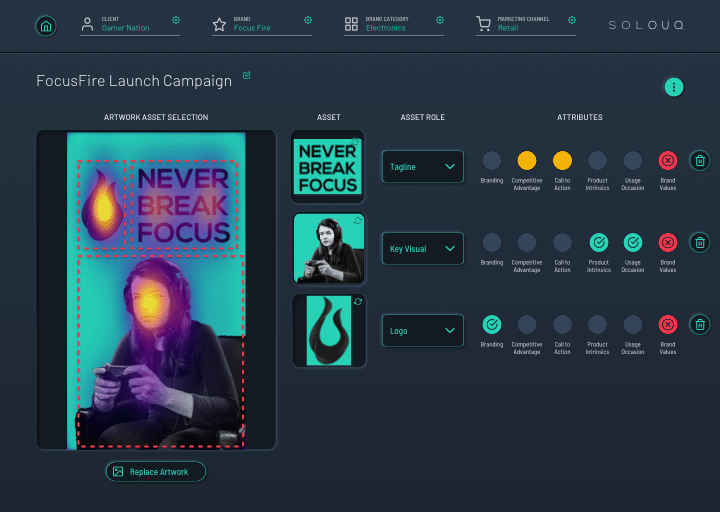
Step 1
Set up your client and brand profile, and assign product category of your ad campaign
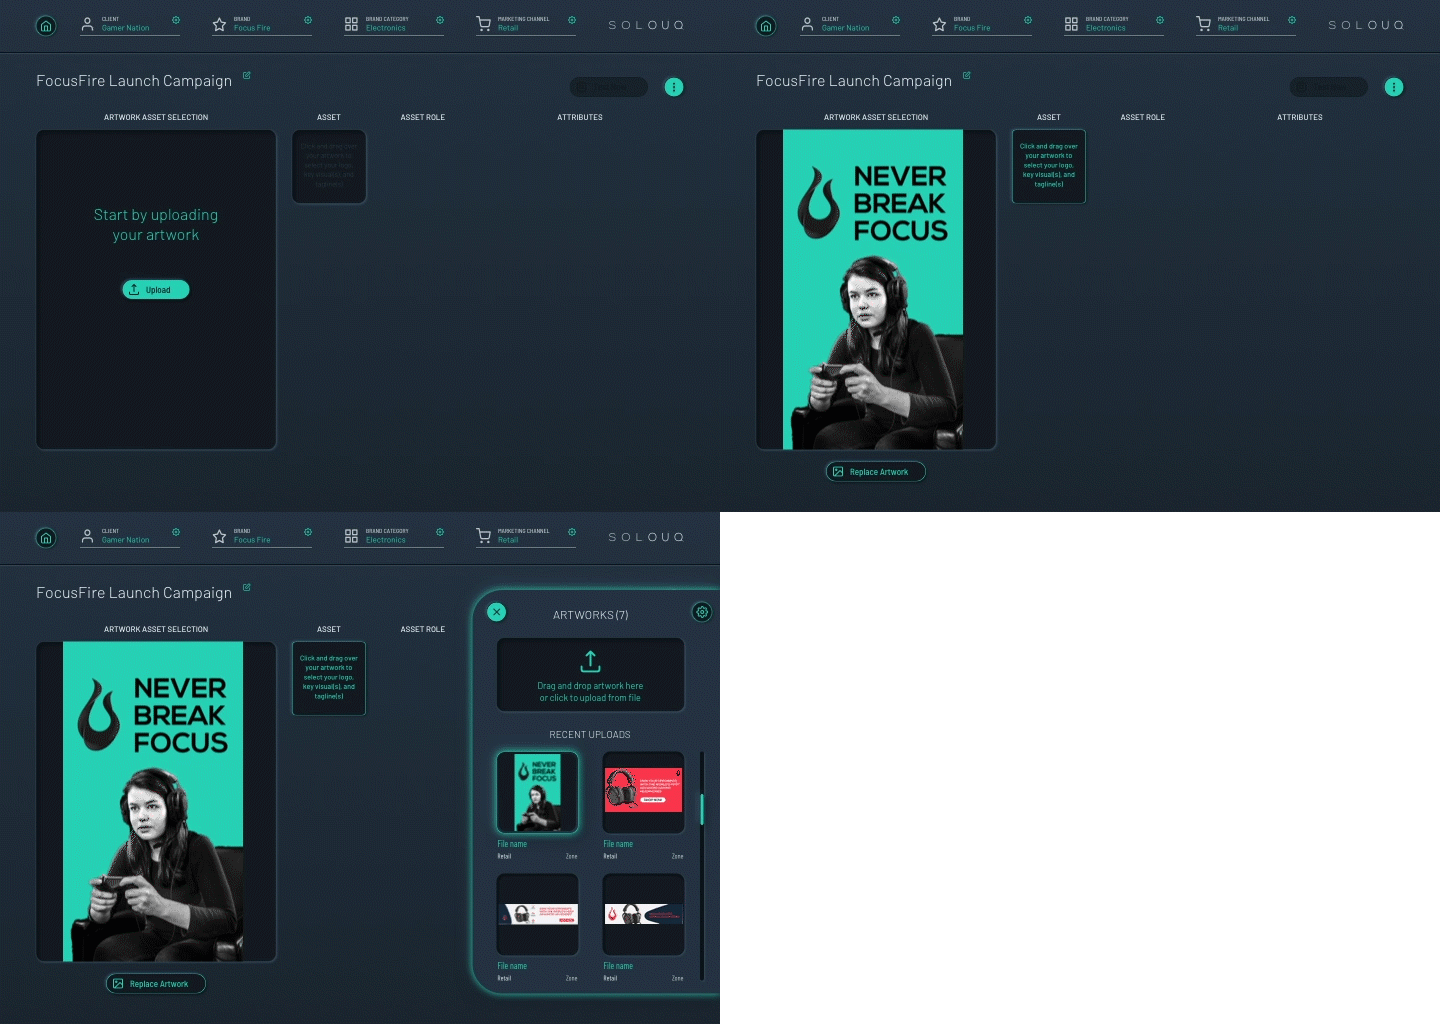
Step 2
Upload your artwork by dragging and dropping single or multiple campaign visuals at once
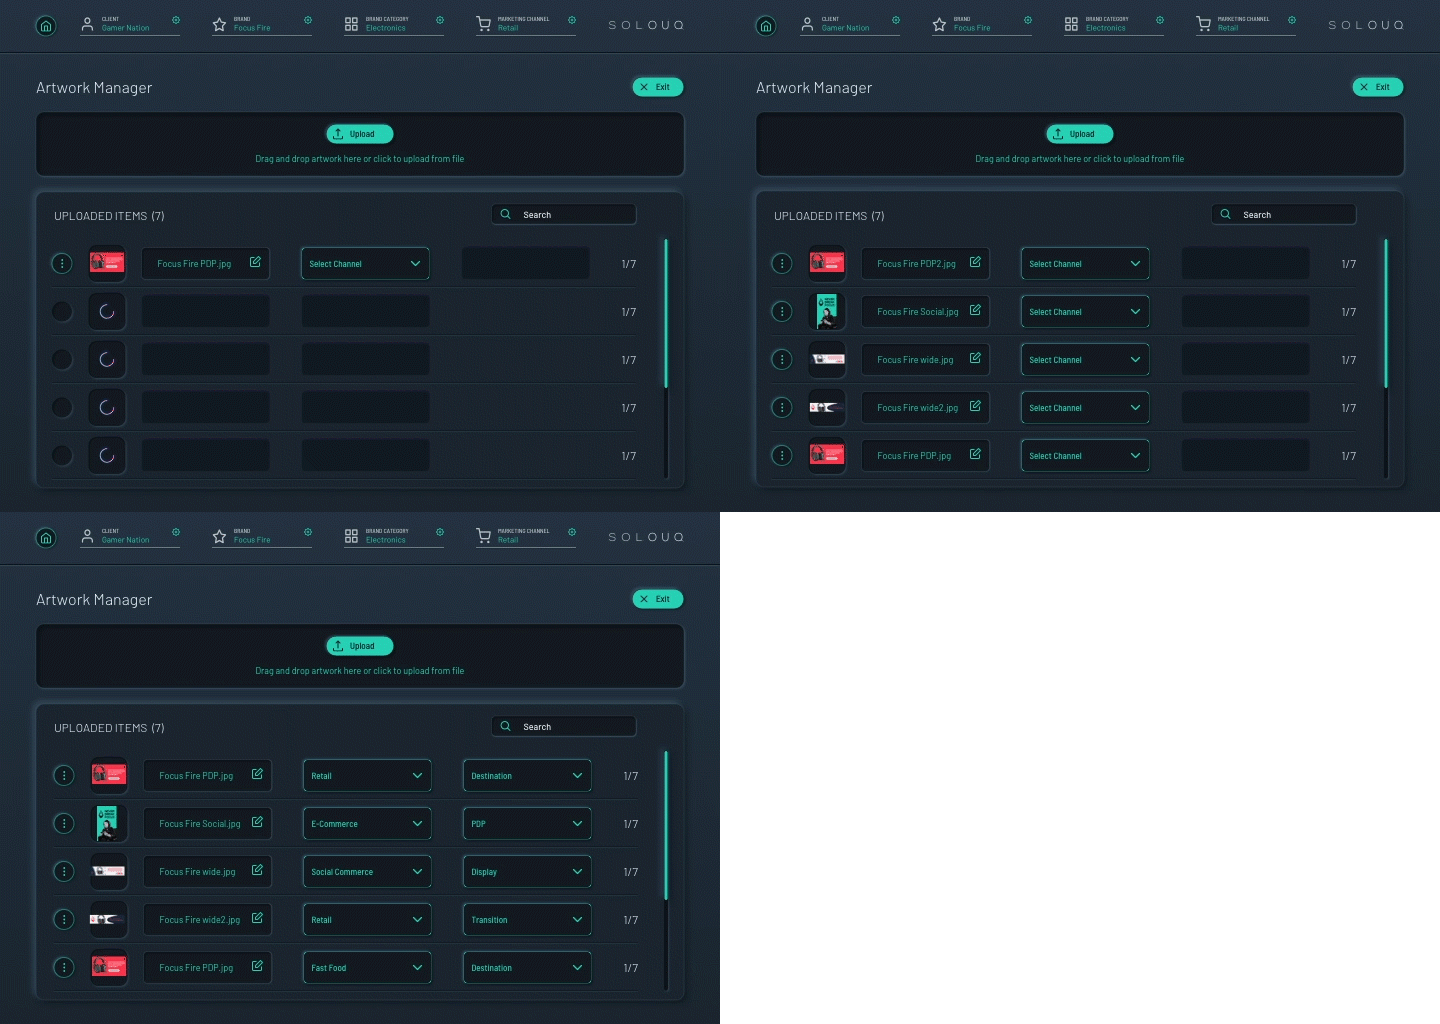
Step 3
Define the relevant channel and touch-point for each artwork. Choose across e-commerce and physical retail channels
Step 4
Select your key messaging assets by clicking and dragging within your artwork. Then assign each asset’s role
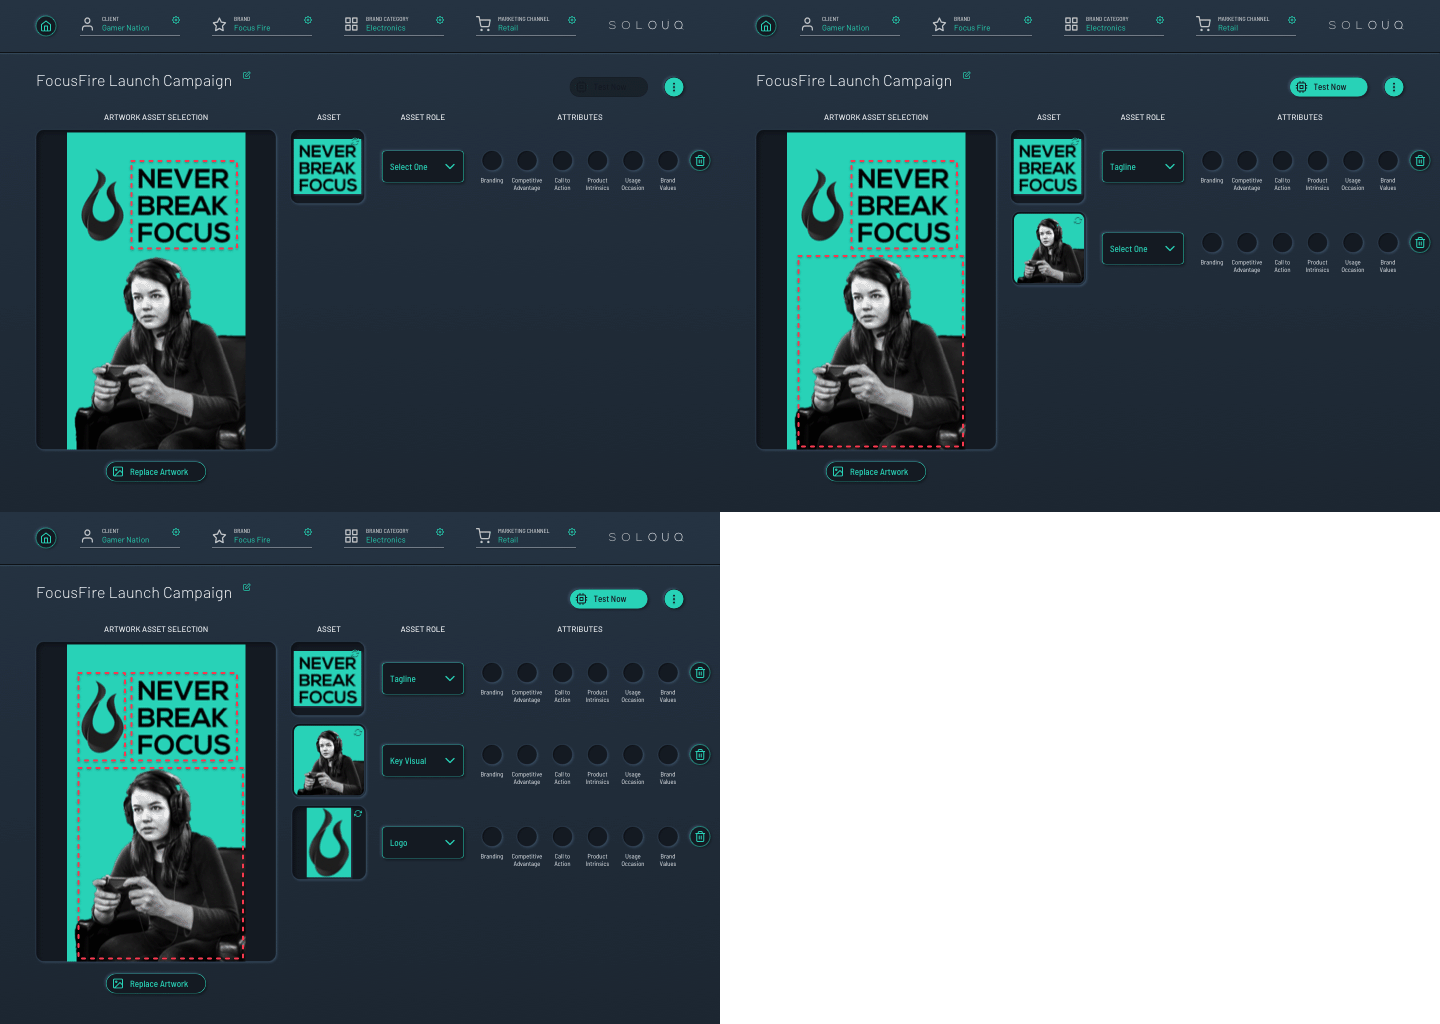
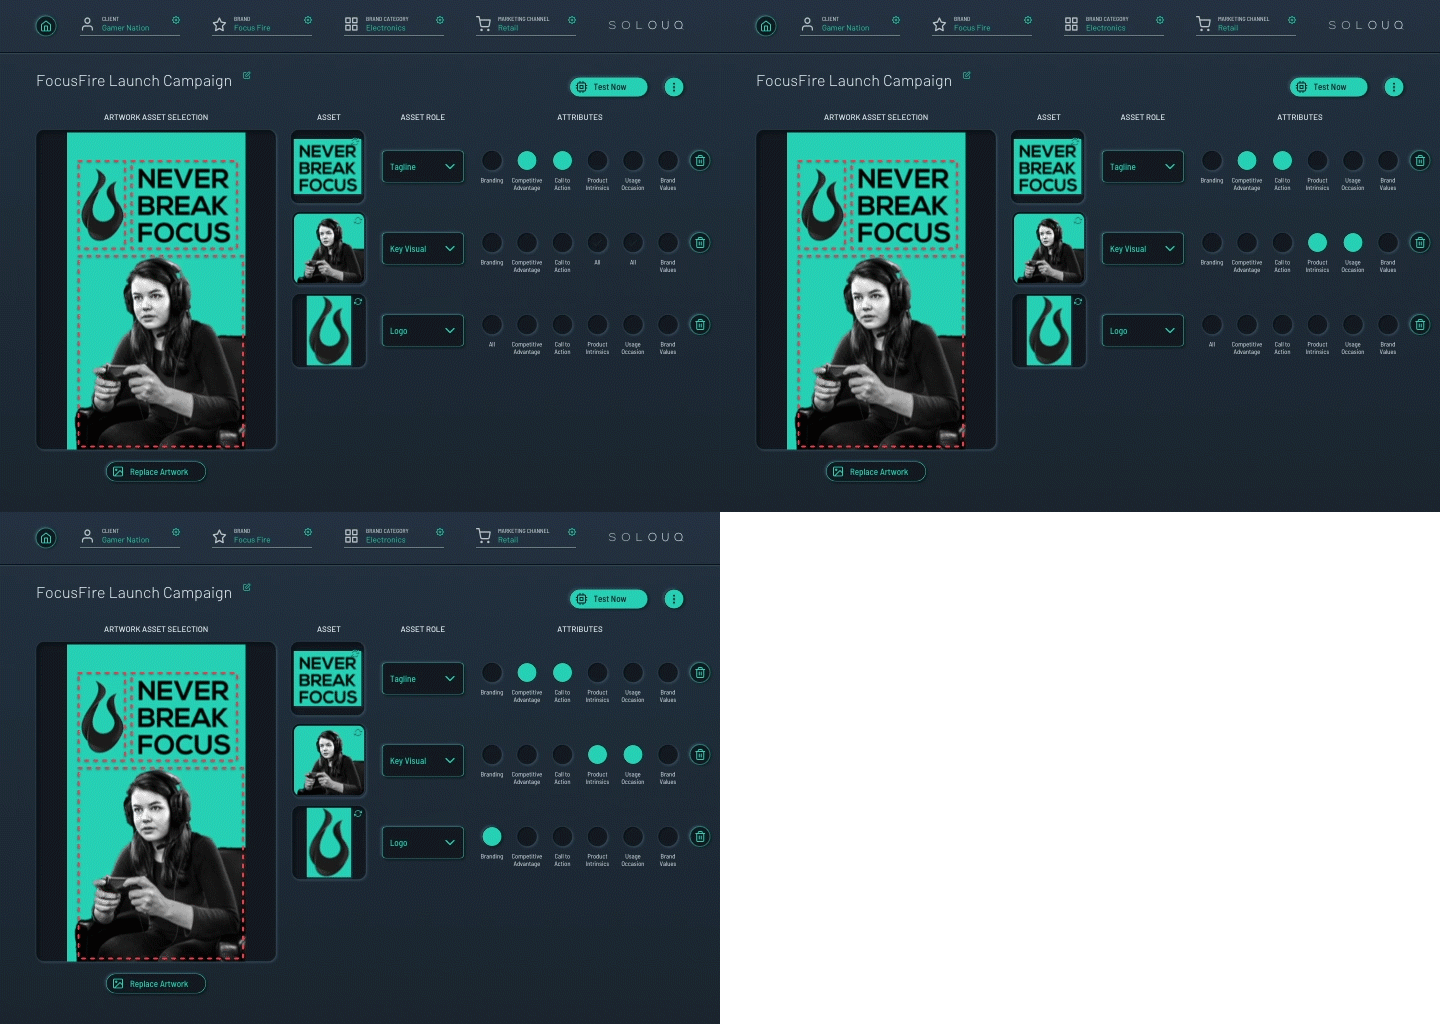
Step 5
Check off the guided messaging attributes that are emphasised for each asset you selected. Click to test and receive results within 2 minutes
Step 6
Read the resulting output matrix by comparing the individual performance of assets or attributes across the artwork
